Updating my Prusa firmware for the Slice Engineering RTD Pt1000
Follow these steps to upgrade the firmware for your Prusa printer for a Slice Engineering RTD Pt1000. This will apply when you plug your RTD PT1000 into a thermistor port with no amplifier board
Part 1: Download Prusa Firmware
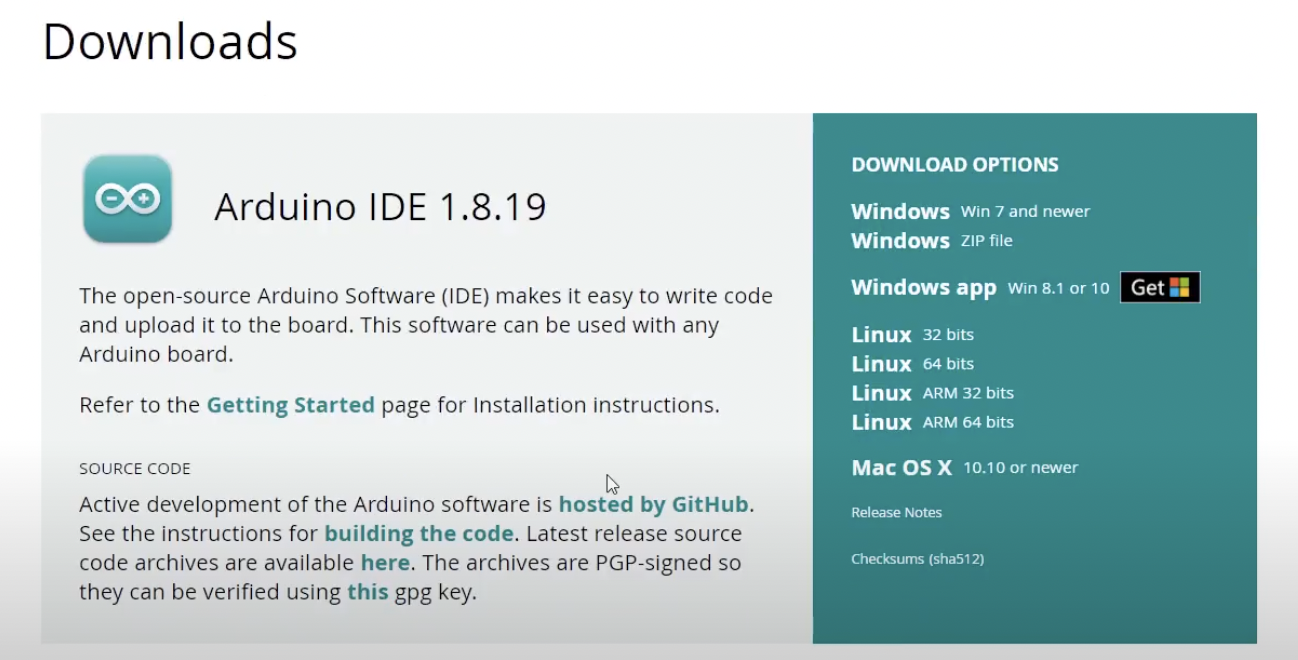
1. Download Arduino IDE - Arduino.cc
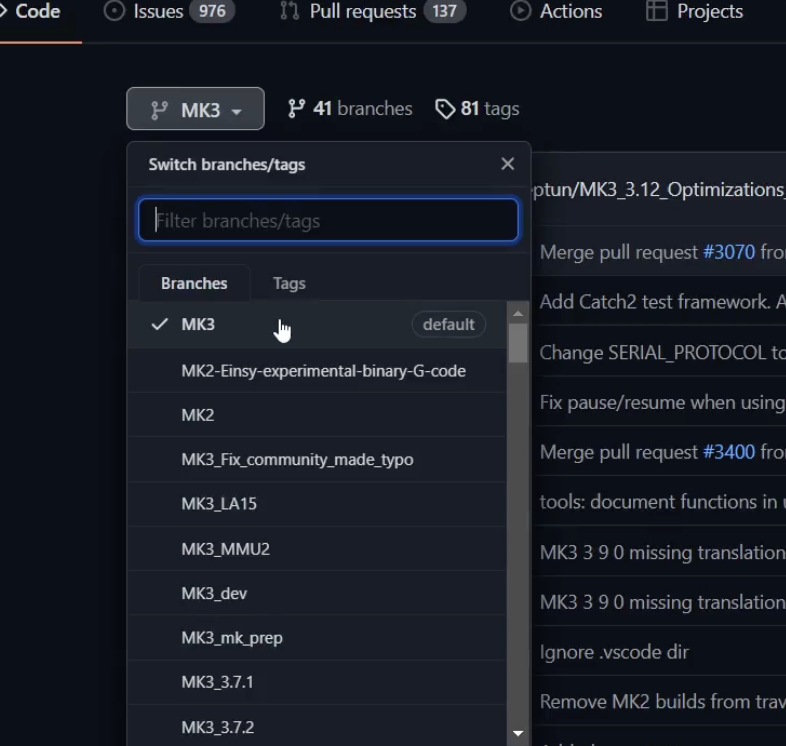
1. Go to Prusa Firmware


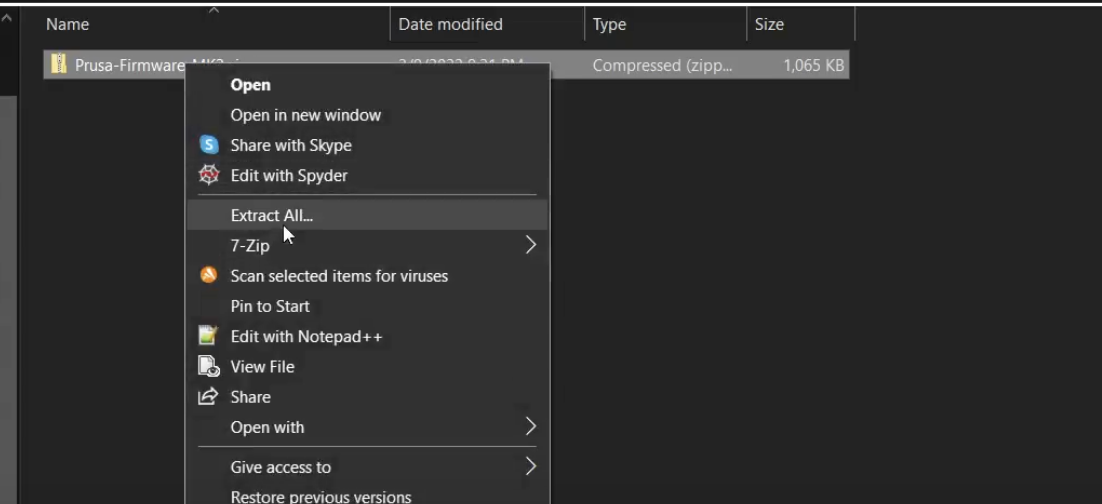
4. Locate and extract the file
6. Open the "variants" folder at the top and select your printer
7. Copy the file and paste it back into the "Firmware" folder
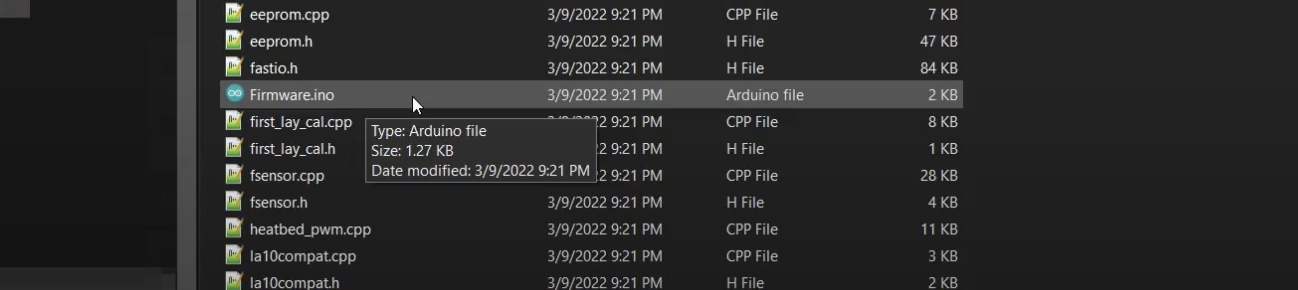
9. Scroll down and find the "firmware.ino" file, marked with Arduino Logo, double click the file to open the Arduino IDE previously downloaded.
-This will tell the Arduino IDE where to find the pin configuration for a Prusa printer

11. Click "Ok"
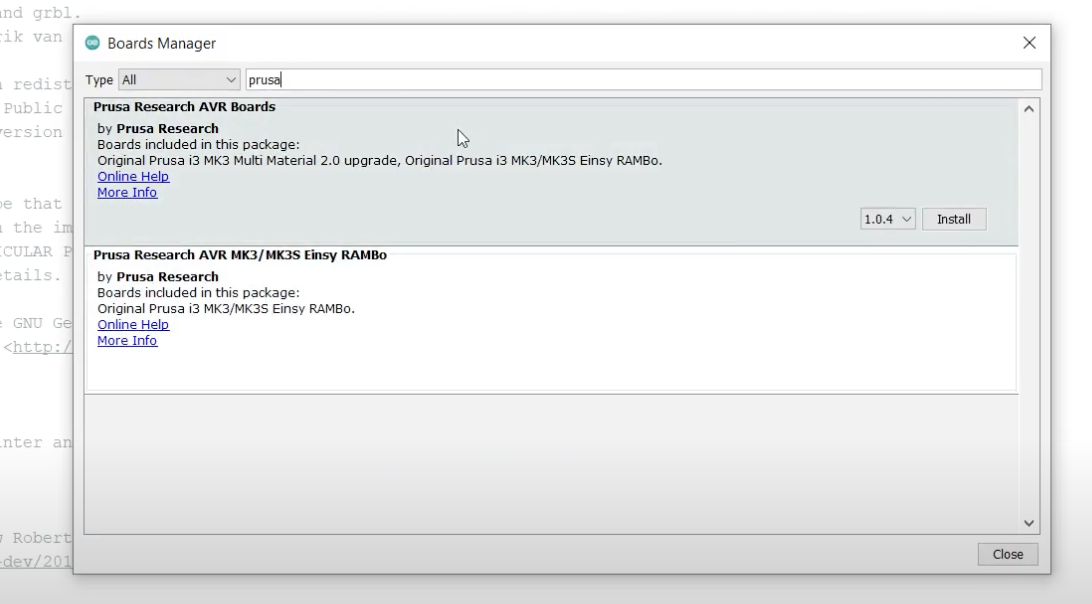
12. Navigate next to Tools > Board > Boards Manager and search "Prusa"
- You can use either option, as long as it is compatible with your printer
- Install and close
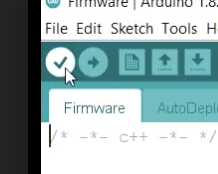
14. Compile the firmware by selecting the Checkmark (√) icon on the top left to ensure everything is reading correctly
This may take a couple of minutes, you will see a “Done Compiling” note at the bottom of the screen once complete.
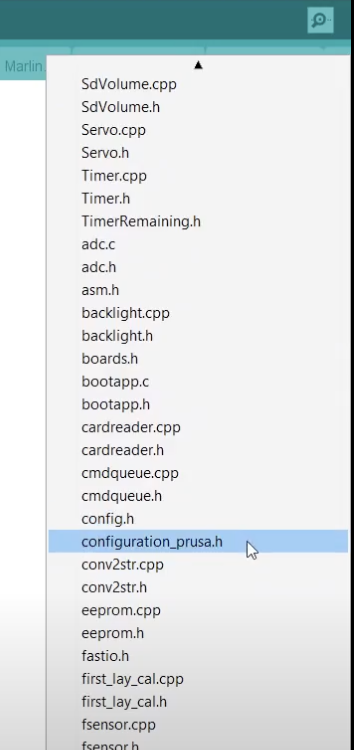
1. Navigate to the drop-down arrow on the right of the screen and select the configuration_prusa.h file previously saved
3. Scroll down to "#define TEMP_SENSOR_0" value and change it from 5 to 1047
4. Optional: You can raise the temperature now to the max that your printer is able to reach
Scroll up to EXTRUDER SETTINGS
Under //Mintempts
Change #define HEATER_0_MINTEMP to 5 for the extruder
- Under //Maxtemp 450
Change #define HEATER_0_MAXTEMP to 450
The RTD is rated to 500C, so use your personal preference here, we use 450
- Navigate to the right pulldown menu again
- Select the “Config.h” file
Scroll to //LANG - Multi-language support
Edit the lines to remove the “//” in front of
“#define LANG MODE 0 // primary language only”
Add “//” to #define LANG_MODE 1 // sec.language support

Go to Tools and chose the Port that your Prusa is plugged into on your computer
Make sure your Prusa is on at this point
Click Upload - arrow icon on top left
This will prompt everything to compile again, and then will begin to upload
Your Prusa screen will soon say “Upgrading firmware, do not disconnect”
After a few minutes, this upgrade should process without issue
Related Articles
How do I update my firmware to be compatible with the Slice Engineering Thermistor?
300°C Thermistor The 300°C Thermistor works natively with Marlin, Duet/RepRapFirmware, and Klipper. Marlin If you are compiling Marlin for use with the 300 °C Thermistor, make sure to choose the "100K thermistor - ATC Semitec 104NT-4-R025H42G". This ...What's the difference between the 300°C Thermistor and the RTD Pt1000?
Both the 300°C Thermistor and the RTD Pt1000 perform the same task, they measure the temperature of the hot block and relay that to the 3D printer's board. However, there are a few key differences between the two. The 300°C Thermistor can only read ...How to Install the Prusa i3 Copperhead® Upgrade Kit (MK2.5/3/3S/3S+)
How to Install the Prusa i3 Copperhead® Upgrade Kit (MK2.5/3/3S/3S+) Overview The Prusa i3 Upgrade Kit has all the necessary components to replace your stock i3 hotend with a new Slice Engineering® hotend. This kit utilizes the existing heat sink, ...Prusa Mini Upgrade Kit Installation Instructions
Prusa Mini Upgrade Kit Installation Instructions What You Need Prusa Mini Upgrade Kit - Copperhead® Copperhead Hot Block Copperhead Heat Break - P Mini Copperhead Silicone Boot GammaMaster® Nozzle - 0.4 mm Capricorn Premium PTFE Tube - 30.8 mm Boron ...Slice Engineering Warranty Policy
We are proud of the things we make. An incredible amount of thought and sweat (and sometimes blood and tears!) goes into every design. All of our products carry a limited lifetime warranty against manufacturing defects. The Slice Engineering warranty ...