Modix BMG-M Upgrade Kit Installation Instructions
Modix BMG-M Upgrade Kit Installation Instructions
What You Need
- Modix BMG-M Upgrade Kit (Left/Right/Dual)
- Mosquito Magnum+ 1.75 Air-Cooled Kit
- 24V Hotend Cooling Fan
- Convection Shield/Nozzle Insulator
- 0.6 mm Vanadium Nozzle
- BMG-M Extruder
- Part Cooling Fan Duct (Left/Right/Both)
- Stock Extruder Stepper Motor
- 2.5 mm hex key
- 1.5 mm hex key
Before Starting
- Unload any filament, let the hotend cool, and raise the z-height, so there is room to operate.
- Turn off the printer.
- Unplug the stock hotend's heater cartridge, temperature sensor, and fan.
- Unplug the extruder's stepper motor.
- Separate the extruder from the stepper motor.
Installation
The overall process is the same for a single or dual printhead. Note: A printed bracket is used to resemble the printhead bracket.
Step 1: Slide the extruder gear onto the motor shaft.

The hole for the set screw has to be oriented away from the motor as shown.
Step 2: Align the stepper motor with the printhead bracket.
Step 3: Remove the backplate of the BMG-M and align it with the motor shaft. Tighten the set screw with the 1.5 mm hex key.

The front face of the gear has to be level with the backplate's front side as shown.
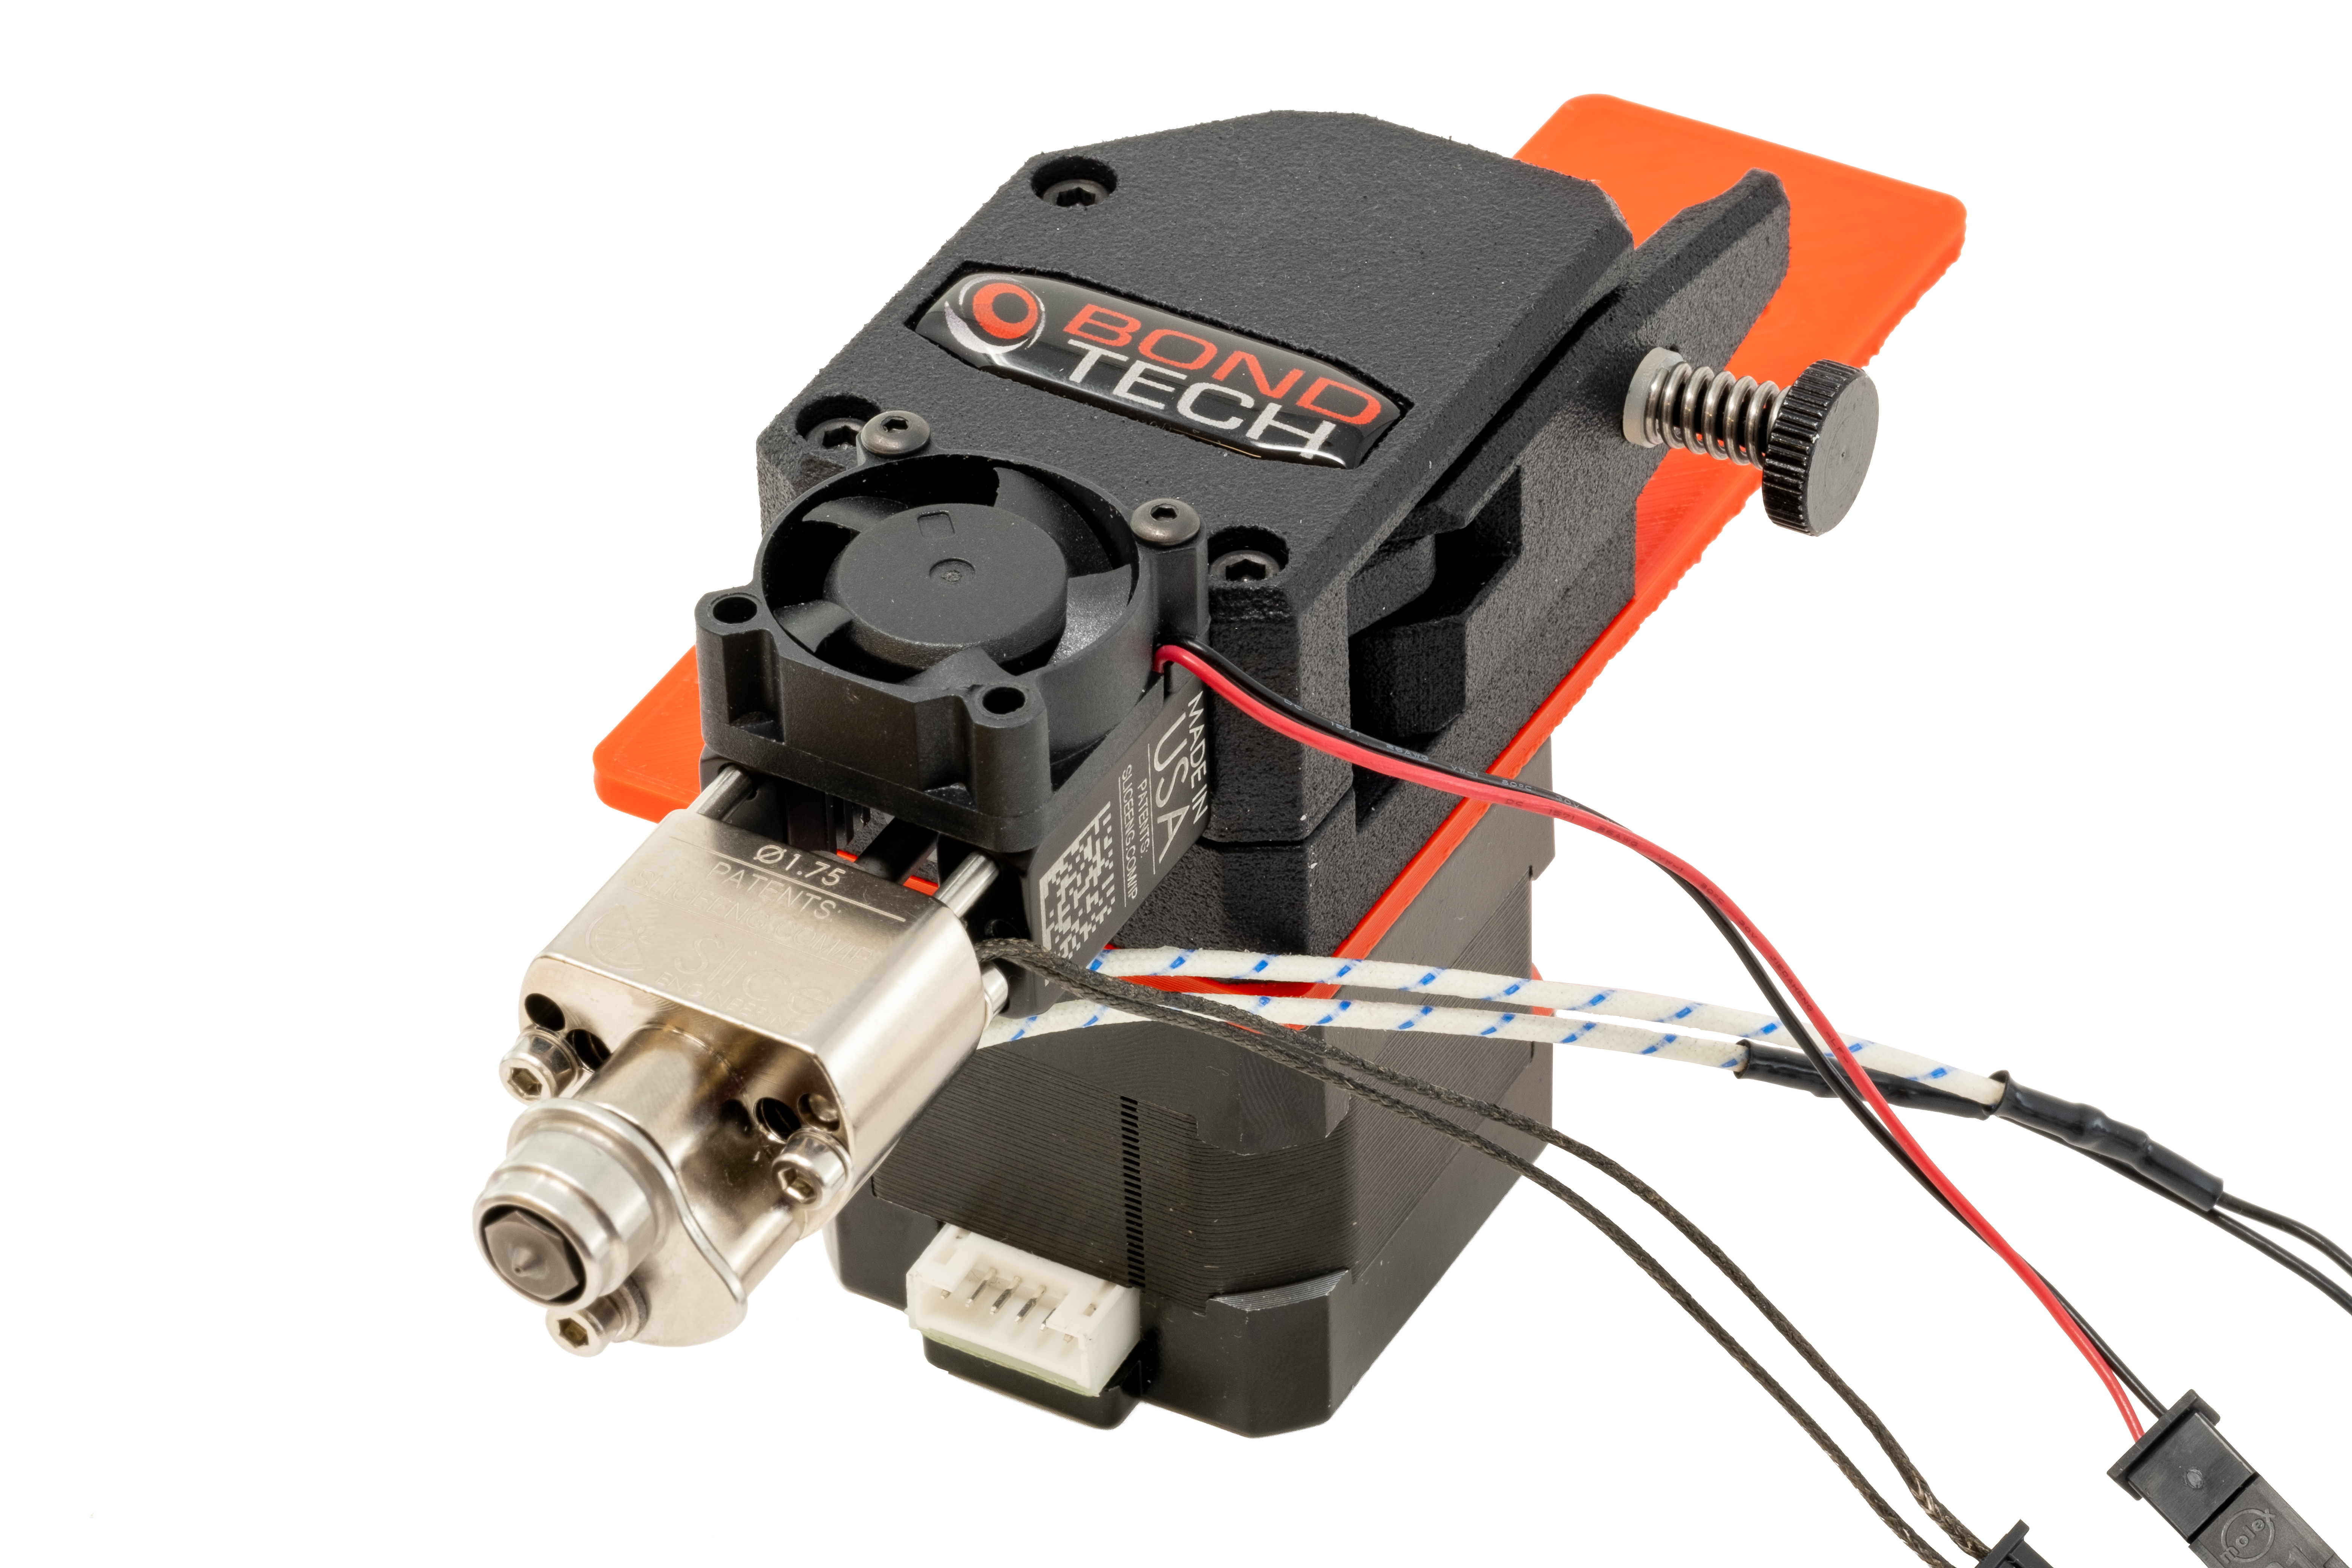
Step 4: Attach the rest of the BMG-M and the Mosquito Magnum+ to the backplate. Use the 2.5 mm hex key to tighten the three screws.
Make sure the stepper motor's connector is oriented downwards.
Step 5: Attach the tensioner to the BMG-M's idler lever.
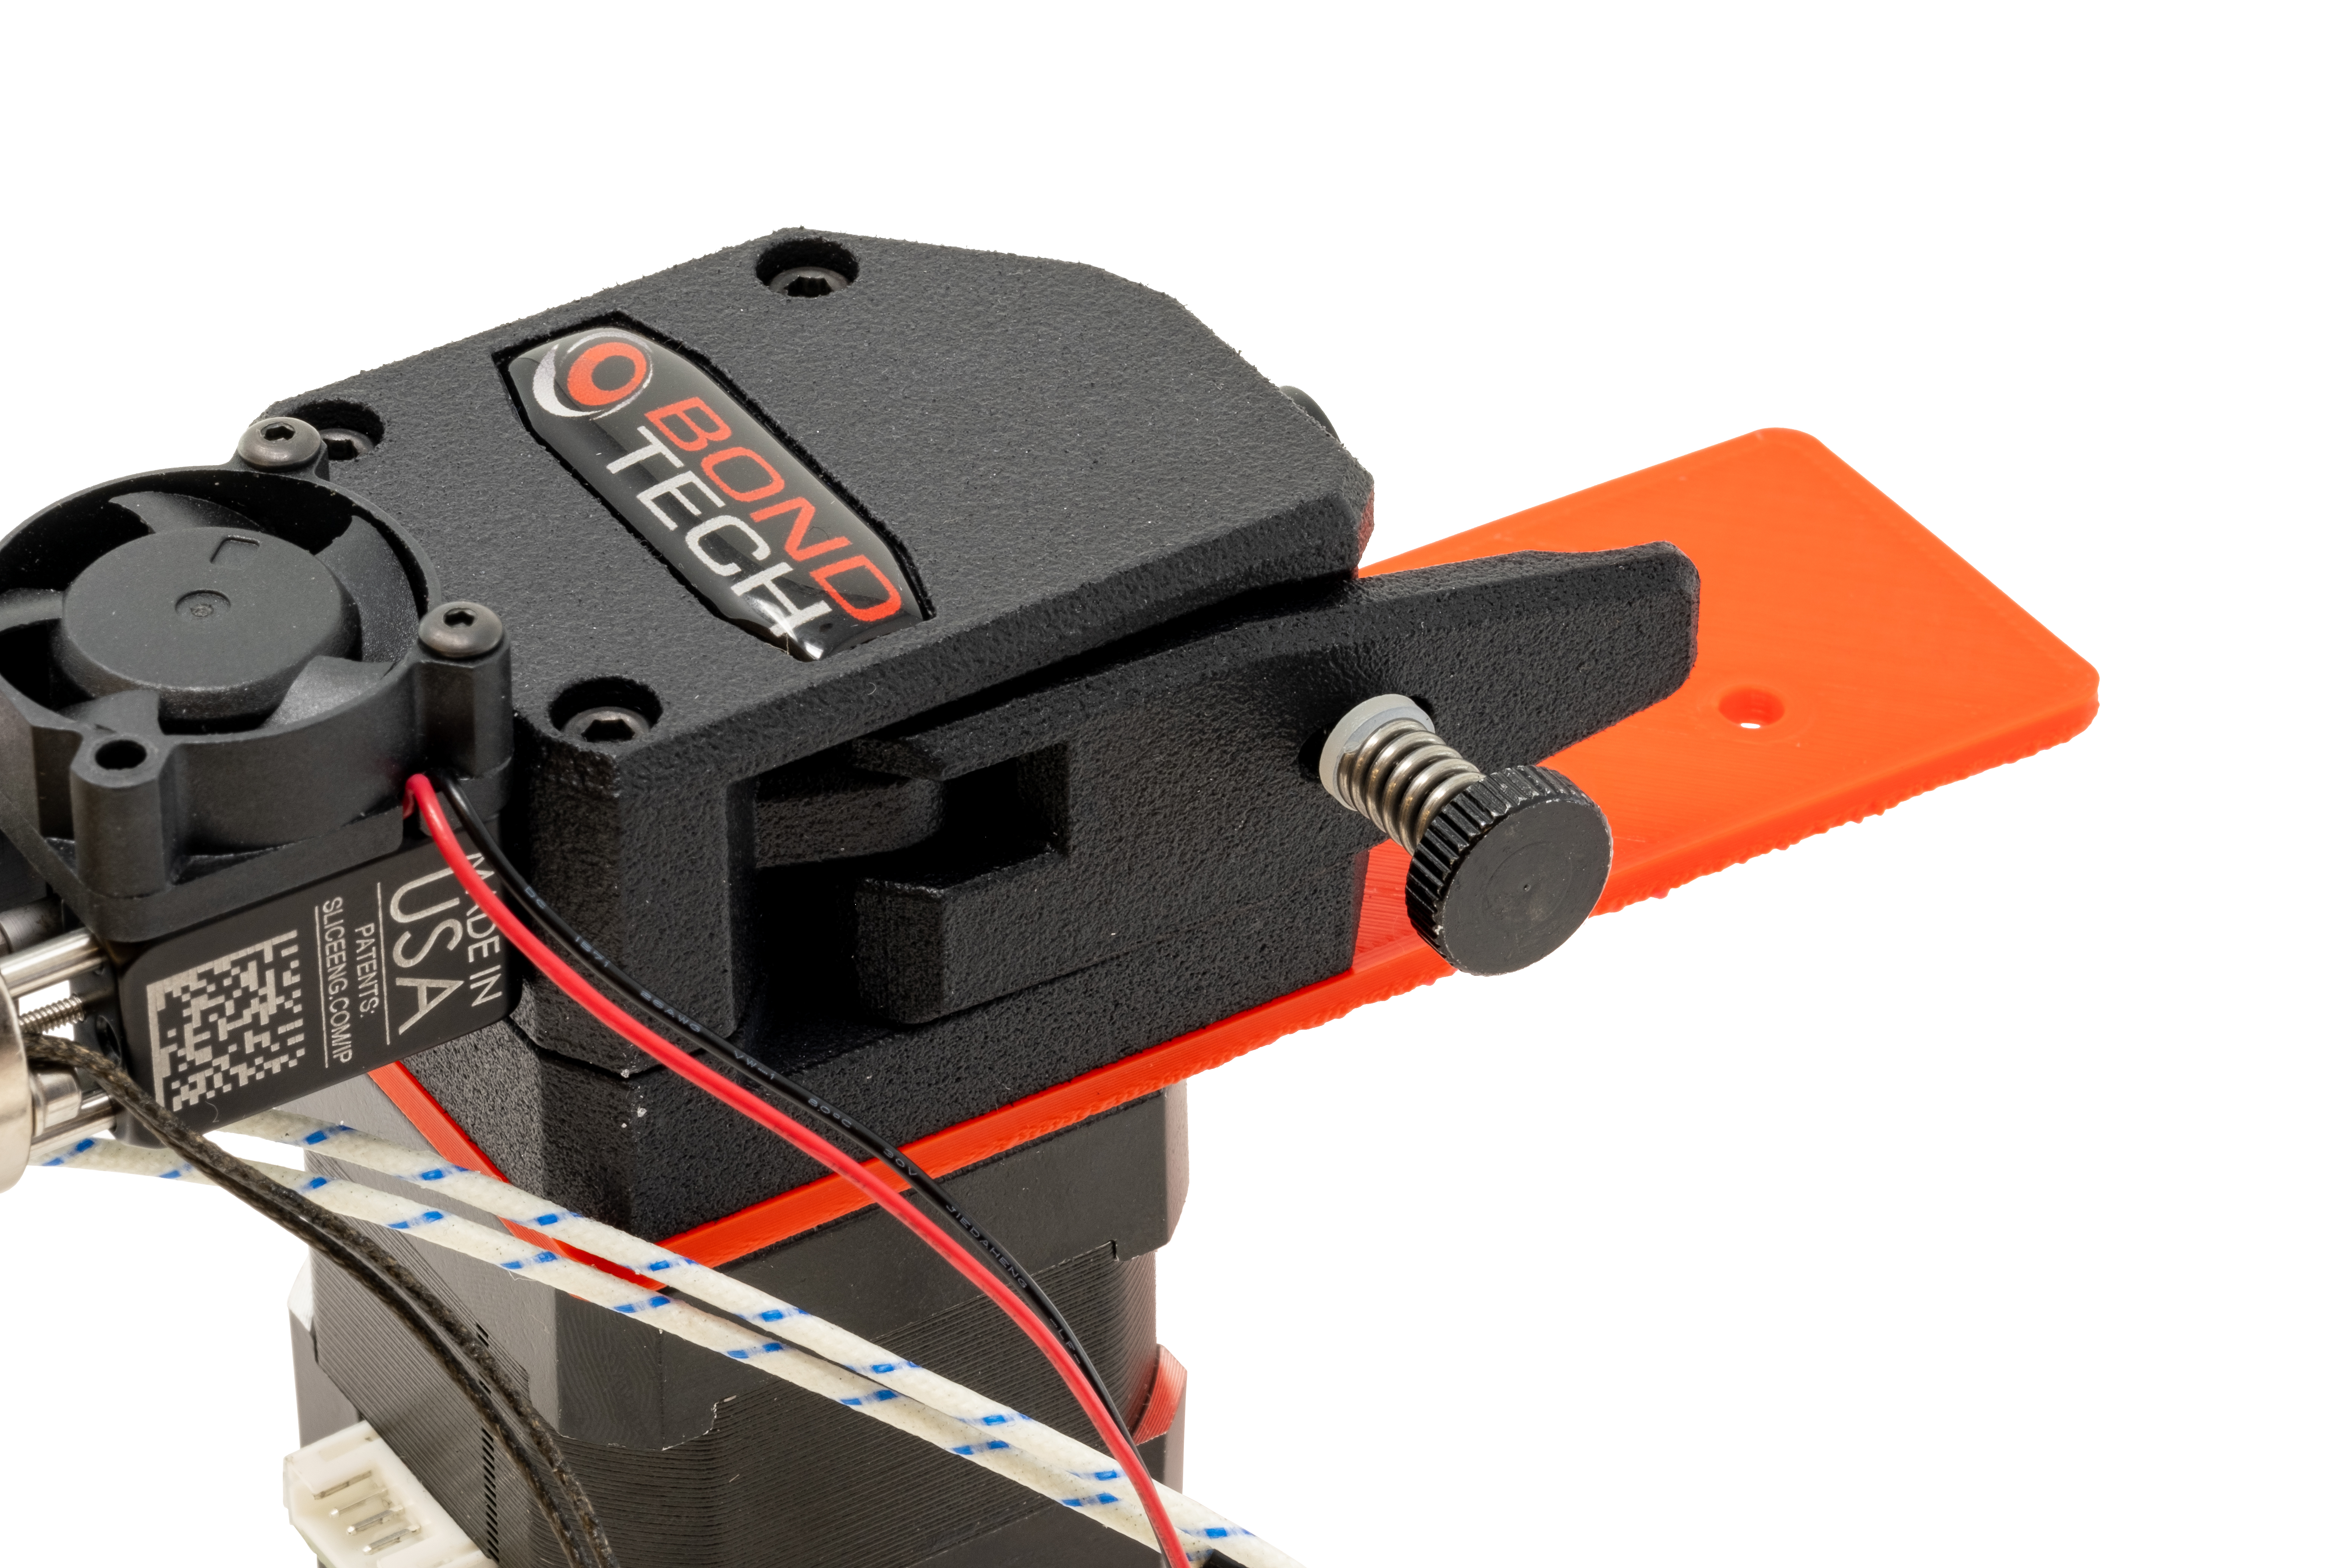
Step 6:
Attach the connectors for the hotend fan, RTD Pt1000, and Stepper Motor. Insert the ferrules for the heater into the screw terminal block.
Step 7: Switch the part cooling fan duct with the provided one and lower the plate until the duct is just above the nozzle tip.
Step 8: Lower the BL Touch until the tip rests about 2 mm above the nozzle's tip.
Step 9: Configure RepRapFimware on the Duet to work with an RTD Pt1000.
Step 10: Perform a PID tune, change the eSteps to a value of 415 for the Bondtech BMG-M, and reverse the direction of the stepper motor.
Related Articles
Modix LGX Pro ACE Upgrade Kit Installation Instructions
Modix LGX Pro ACE Upgrade Kit Installation Instructions What You Need Modix LGX Pro ACE Upgrade Kit (Left/Right/Dual) LGX Pro ACE Magnum+ 80W Heaters, RTD Pt1000, and 4020 Hotend Cooling Fan Part Cooling Fan Duct (Left/Right/Dual) Terminal Strip ...Elegoo Neptune 3 Upgrade Kit Installation Instructions
How to Install the Elegoo Neptune 3 Upgrade Kit Compatibility Elegoo Neptune 3 Pro Elegoo Neptune 3 Plus Elegoo Neptune 3 Max What You Need Elegoo Neptune 3 Upgrade Kit - Copperhead® Copperhead Hot Block Copperhead Heat Break - C-E Copperhead ...Mako™ for Bambu Lab Upgrade Kit Installation Instructions
How to Install the Mako™ for Bambu Lab Upgrade Kit Compatibility Bambu Lab P1P Bambu Lab P1S Bambu Lab X1 Bambu Lab X1C Bambu Lab X1E What You Need 2 mm Hex Key Mako For Bambu Lab Mako Hotend Mako Silicone Boot FIN Nozzle Heater Thermistor Heater ...Prusa Mini Upgrade Kit Installation Instructions
Prusa Mini Upgrade Kit Installation Instructions What You Need Prusa Mini Upgrade Kit - Copperhead® Copperhead Hot Block Copperhead Heat Break - P Mini Copperhead Silicone Boot GammaMaster® Nozzle - 0.4 mm Capricorn Premium PTFE Tube - 30.8 mm Boron ...Raise3D E2 Upgrade Bundle Installation Instructions
Raise3D E2 Upgrade Bundle Installation Instructions What You Need - Raise3D E2 Upgrade Bundle - Copperhead™ Hotend - Standard - G2 (x2) - Industrial Heater - 30W / 24V (x2) - Vanadium™ Nozzle - 0.4 mm (x2) - Boron Nitride Paste (x1) - Nozzle Torque ...