Modix LGX Pro ACE Upgrade Kit Installation Instructions
Modix LGX Pro ACE Upgrade Kit Installation Instructions

What You Need
- Modix LGX Pro ACE Upgrade Kit (Left/Right/Dual)
- LGX Pro ACE Magnum+
- 80W Heaters, RTD Pt1000, and 4020 Hotend Cooling Fan
- Part Cooling Fan Duct (Left/Right/Dual)
- Terminal Strip
- Printed Mount (Left/Right/Dual)
- Extruder Cable (Optional)
- 4X M3 x 0.5 mm x 6 mm Socket Head Screw
- 4X No. 4 Washer (Right Setup Only)
- 2.0 mm hex key
- 2.5 mm hex key
- Flat Head Screwdriver
- Snipping Tool
- Small Plastic Cable Tie
Before Starting
- Unload any filament, let the hotend cool, and raise the z-height, so there is room to operate.
- Turn off the printer.
- Unplug the stock hotend's heater cartridge, temperature sensor, and fan.
- Unplug the stock extruder's stepper motor.
- Separate the extruder from the stepper motor and set them aside.
- Remove the red extruder plate from the gantry and set it aside. Keep the screws close by.
- Optionally unplug the extruder cable from the Duet board and set it aside if you are not comfortable with switching its pins around.
Installation

The overall process is similar for the Left and Right printhead, so the following instructions only show the Left printhead installation.
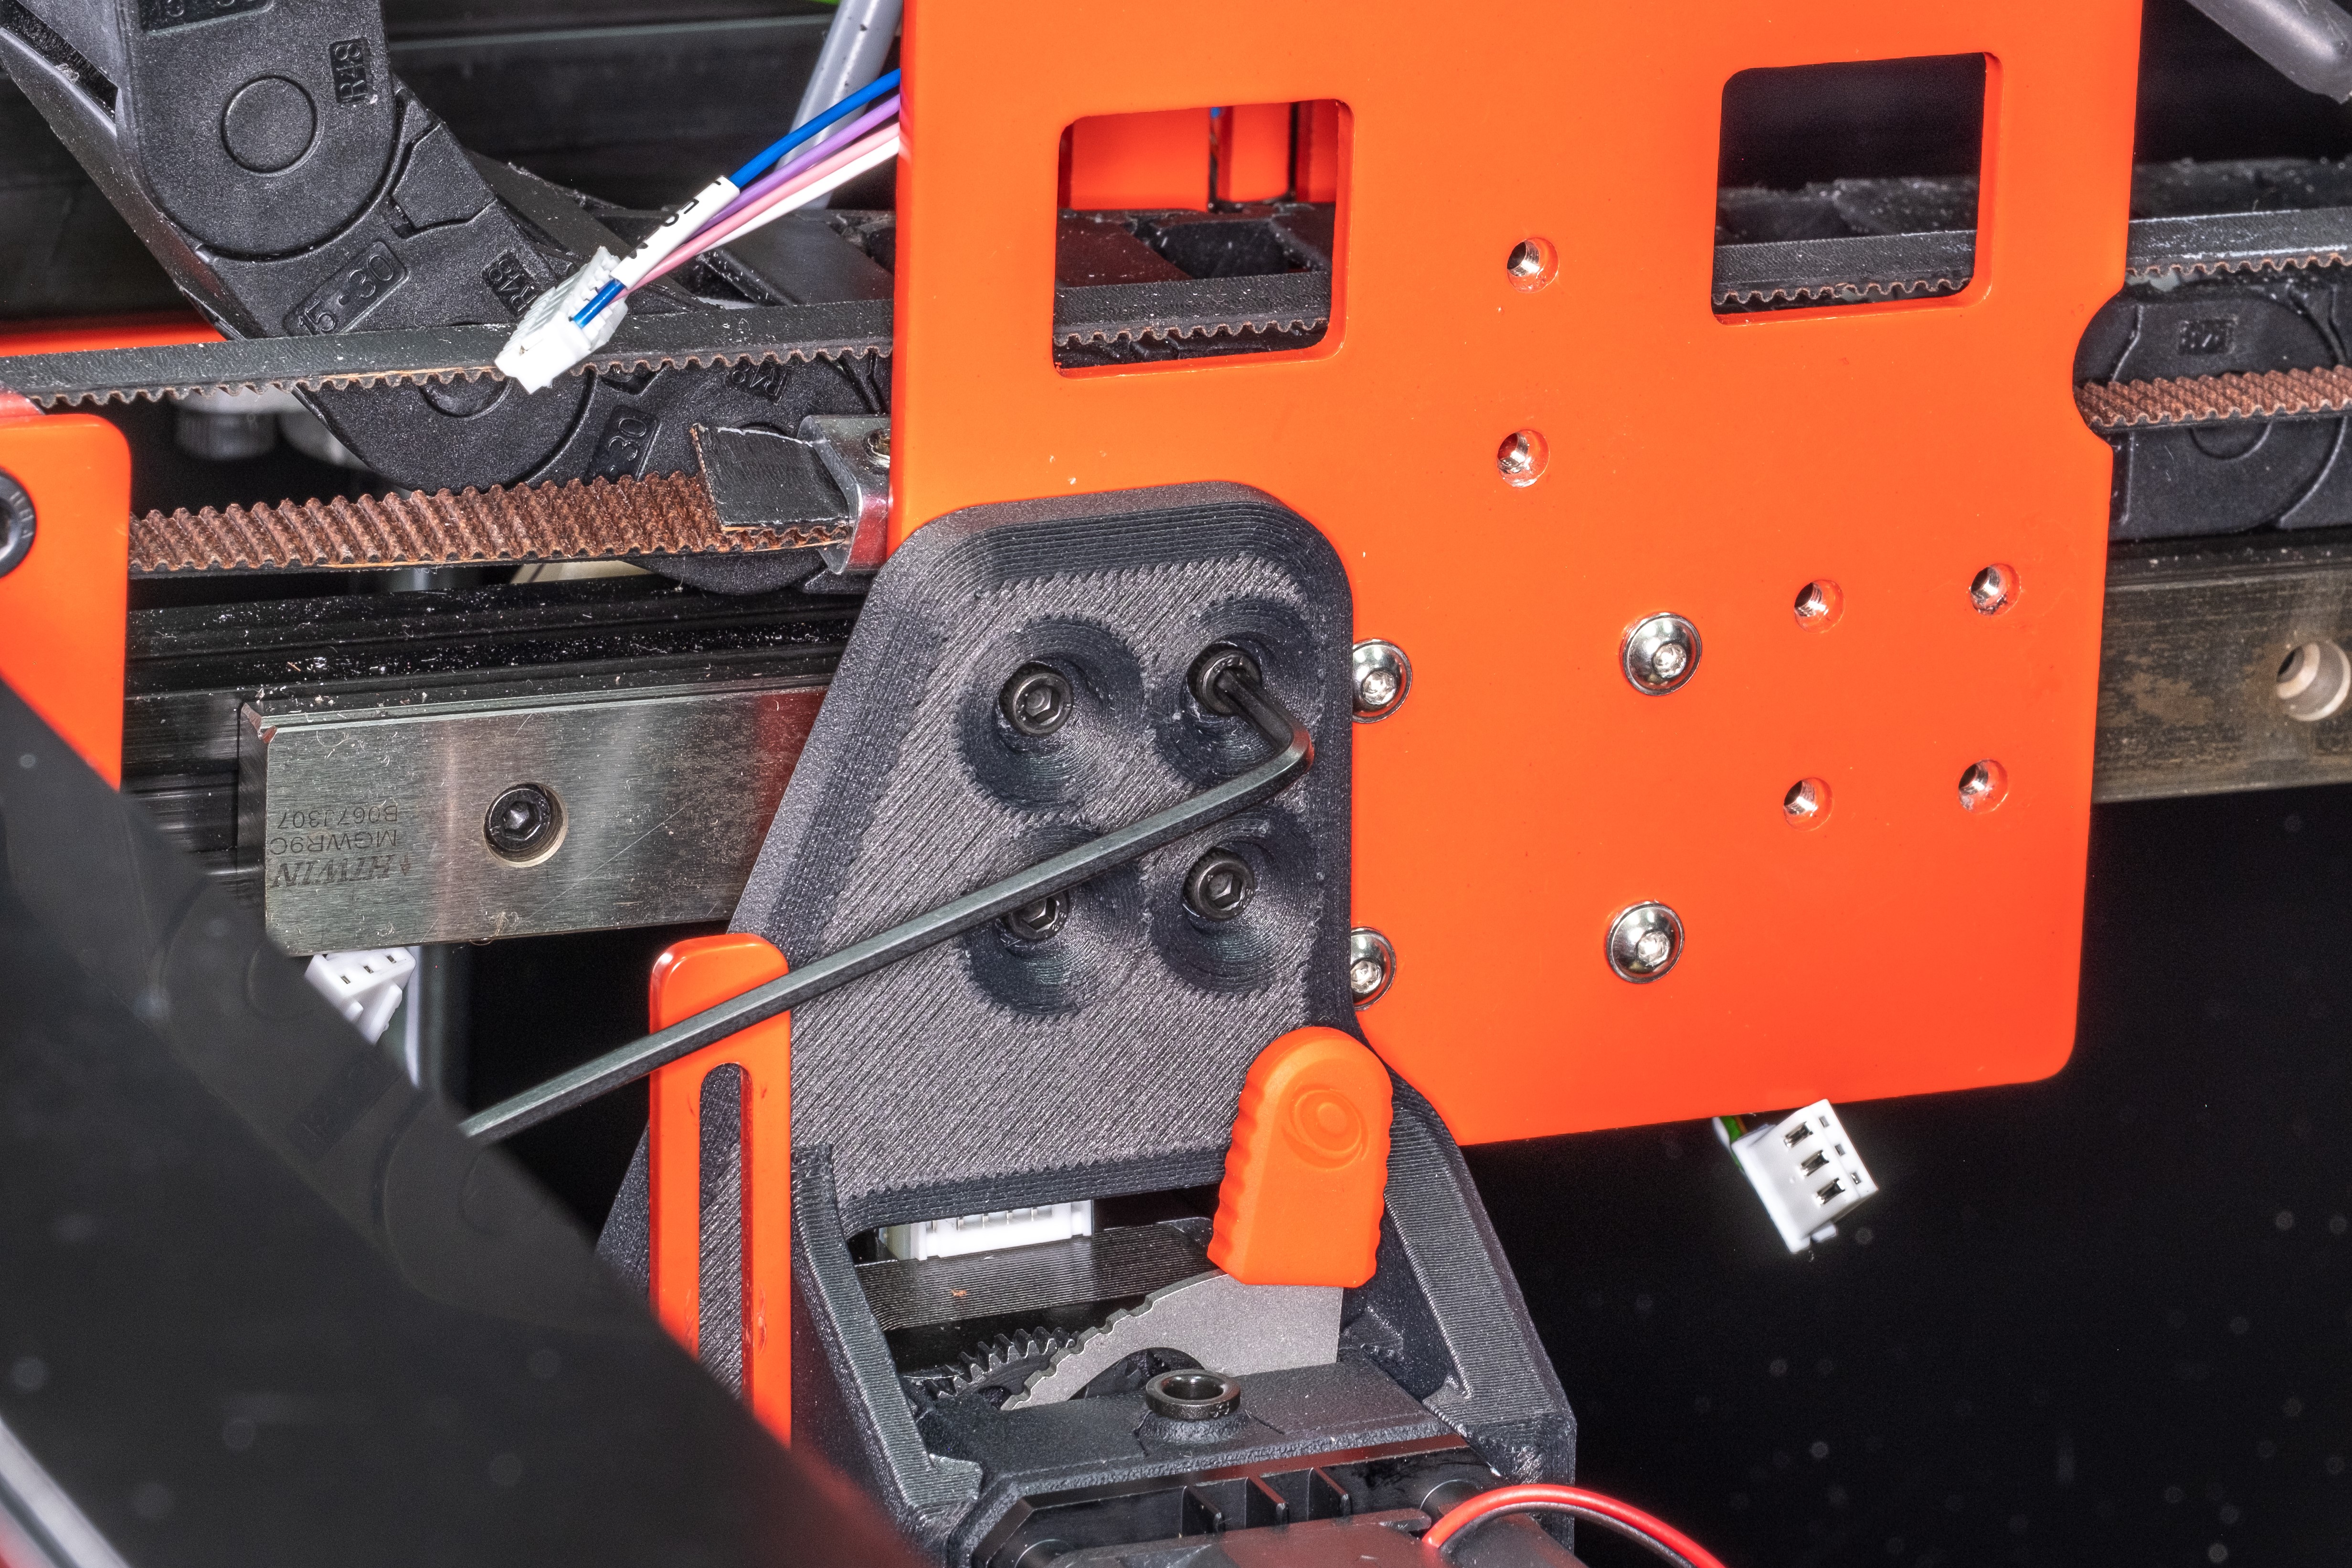
Step 1: Slide the printed mount onto the LGX body and align the four screw holes.
Step 2: Using the 2.0 mm hex key, screw in the four M3 x 0.5 mm x 6 mm Socket Head Screws.
Step 3: Switch the stock part cooling fan duct with the new fan duct and attach it to the blower and red mount.
Step 4: Attach the fan assembly to the printed mount. Align the bottom of the duct so it is ~2 mm from the nozzle tip.
Step 5: Screw the printed mount onto the gantry plate.

Step 6: Use the screwdriver to detach the cables from the terminal block. Snip the cable tie and replace the stock terminal strip with the provided one.
Step 7: Use the screwdriver to connect the black heater cables to the terminal strip. Reattach the cables on the other side of the terminal strip.
Step 8: Attach the fan cable and the temperature sensor cable to their respective connectors.
Step 9: The LGX stepper motor uses a different pinout than the stock stepper motor. You can choose to either replace the stock extruder cable with the one we provided or switch the pins on the stock extruder cable's board connector.
Step 10: Adjust the BL Touch until the tip rests about 3 mm above the nozzle's tip.
Firmware Changes
- Turn the printer back on and configure RepRapFirmware on the Duet to work with an RTD Pt1000.
- Change the E-Steps to 400.
- If the extruder motor is spinning in the incorrect direction, change the motor driver direction (S parameter).
- Perform a PID tune to make sure the board heats the hotend properly.
Related Articles
Modix BMG-M Upgrade Kit Installation Instructions
Modix BMG-M Upgrade Kit Installation Instructions What You Need Modix BMG-M Upgrade Kit (Left/Right/Dual) Mosquito Magnum+ 1.75 Air-Cooled Kit 24V Hotend Cooling Fan Convection Shield/Nozzle Insulator 0.6 mm Vanadium Nozzle BMG-M Extruder Part ...Elegoo Neptune 3 Upgrade Kit Installation Instructions
How to Install the Elegoo Neptune 3 Upgrade Kit Compatibility Elegoo Neptune 3 Pro Elegoo Neptune 3 Plus Elegoo Neptune 3 Max What You Need Elegoo Neptune 3 Upgrade Kit - Copperhead® Copperhead Hot Block Copperhead Heat Break - C-E Copperhead ...Mako™ for Bambu Lab Upgrade Kit Installation Instructions
How to Install the Mako™ for Bambu Lab Upgrade Kit Compatibility Bambu Lab P1P Bambu Lab P1S Bambu Lab X1 Bambu Lab X1C Bambu Lab X1E What You Need 2 mm Hex Key Mako For Bambu Lab Mako Hotend Mako Silicone Boot FIN Nozzle Heater Thermistor Heater ...Prusa Mini Upgrade Kit Installation Instructions
Prusa Mini Upgrade Kit Installation Instructions What You Need Prusa Mini Upgrade Kit - Copperhead® Copperhead Hot Block Copperhead Heat Break - P Mini Copperhead Silicone Boot GammaMaster® Nozzle - 0.4 mm Capricorn Premium PTFE Tube - 30.8 mm Boron ...Raise3D E2 Upgrade Bundle Installation Instructions
Raise3D E2 Upgrade Bundle Installation Instructions What You Need - Raise3D E2 Upgrade Bundle - Copperhead™ Hotend - Standard - G2 (x2) - Industrial Heater - 30W / 24V (x2) - Vanadium™ Nozzle - 0.4 mm (x2) - Boron Nitride Paste (x1) - Nozzle Torque ...